Soundgear SGCCR2 AM/FM Clock Radio Manual: A Comprehensive Guide
This manual details sequential button presses for time and date settings‚ alongside 12/24-hour format switching‚
ensuring a personalized listening experience with features like memory presets and volume adjustments.
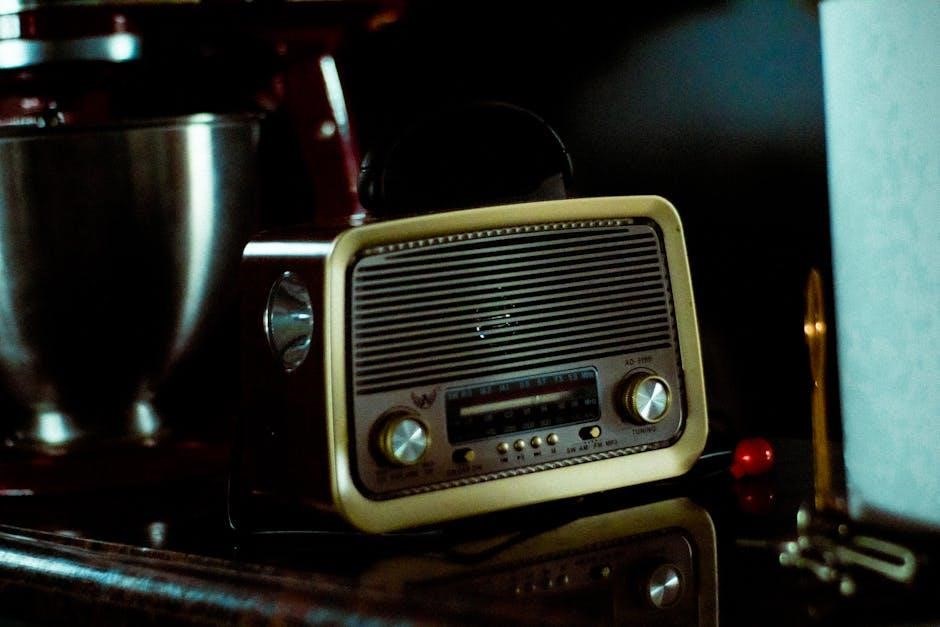
Welcome to the Soundgear SGCCR2 AM/FM Clock Radio! This user-friendly device combines the functionality of a traditional alarm clock with the convenience of an AM/FM radio. Designed for simplicity and ease of use‚ the SGCCR2 offers a range of features to enhance your daily routine. This manual provides a comprehensive guide to setting up‚ operating‚ and maintaining your new radio.
The SGCCR2 allows you to wake up to your favorite radio stations or a traditional buzzer‚ ensuring a pleasant start to your day. It also includes convenient features like memory presets for quick access to your preferred stations‚ adjustable volume control‚ and a display brightness setting for optimal viewing. Understanding the sequential button presses‚ as detailed within‚ will unlock the full potential of this versatile device‚ offering a personalized audio experience.
Unboxing and Component Checklist
Carefully unpack your Soundgear SGCCR2 AM/FM Clock Radio and verify that all components are present. Your package should include the following items: one (1) Soundgear SGCCR2 Clock Radio unit‚ one (1) AC Power Adapter‚ and this (1) User Manual. Inspect all items for any signs of damage that may have occurred during shipping.
If any components are missing or damaged‚ please contact customer support immediately. Before proceeding with setup‚ familiarize yourself with the radio’s controls and features as outlined in this manual. Proper unboxing and component verification ensure a smooth and trouble-free setup process. Retain the original packaging for potential future transport or warranty claims. The sequential button presses for setup are detailed later‚ ensuring a personalized experience.

Setting Up Your Radio
Begin by connecting the AC power adapter‚ then follow the manual’s sequential button instructions to personalize settings and enjoy optimal radio functionality.
Initial Power-Up and Battery Installation
To initiate operation‚ first connect the Soundgear SGCCR2 to a suitable power outlet using the provided AC adapter. Before doing so‚ it’s crucial to understand the radio’s battery backup system. This unit utilizes batteries – likely AAA or AA‚ though the manual doesn’t explicitly state the type – to preserve your settings‚ including time and alarm configurations‚ during power outages.
Carefully open the battery compartment‚ typically located on the rear of the unit. Insert the correct number of batteries‚ observing the proper polarity (+ and -) as indicated inside the compartment. Incorrect battery installation can prevent the radio from functioning correctly or even damage the device. Once batteries are installed‚ the radio should power on automatically when connected to AC power. If not‚ consult the troubleshooting section of this manual. Remember to regularly check battery levels to ensure continuous operation of the clock and alarm functions.
Connecting to Power Source
The Soundgear SGCCR2 is designed to operate primarily from a standard AC power outlet. Locate the DC input jack on the rear panel of the radio. Insert the plug from the included AC adapter firmly into this jack. Then‚ plug the AC adapter into a functioning wall outlet. Ensure the outlet provides the correct voltage as specified on the adapter – typically 120V AC‚ 60Hz.
Avoid using damaged power cords or adapters. A faulty power supply can pose a safety hazard and may damage the radio. While the unit features battery backup for settings retention‚ consistent operation and full functionality require a stable AC power connection. If the radio fails to power on after connecting to a known working outlet‚ double-check the AC adapter connection and the outlet itself. Consider testing with a different outlet to rule out any electrical issues.
Time and Date Settings
Precisely configure your Soundgear SGCCR2 by sequentially pressing buttons‚ allowing effortless switching between 12 and 24-hour formats to personalize your time display.
Setting the Time (12/24 Hour Format)
To accurately set the time on your Soundgear SGCCR2‚ begin by pressing and holding the ‘Time Set’ button until the hour digits begin to flash. Utilize the ‘Hour’ and ‘Minute’ buttons to adjust the current hour. Remember that the radio supports both 12-hour and 24-hour time formats.
To toggle between these formats‚ locate the ‘Format’ button – often labeled ‘12/24H’ – and press it. Each press will cycle through the available options. Confirm your selection by pressing the ‘Time Set’ button again. The minutes will now flash‚ allowing you to adjust them using the ‘Hour’ and ‘Minute’ buttons.
Once the correct time is displayed‚ press ‘Time Set’ one final time to save your settings. Ensure the AM/PM indicator (if using 12-hour format) is correct. Precise timekeeping is crucial for reliable alarm functionality‚ so double-check your settings after initial setup and after any power outages.
Setting the Date
Establishing the correct date on your Soundgear SGCCR2 is a straightforward process‚ typically initiated after setting the time. Locate the ‘Date Set’ button – it may share functionality with the ‘Time Set’ button‚ requiring a long press to access date settings. Once activated‚ the year digits will begin to flash.
Use the ‘Hour’ and ‘Minute’ buttons (which often double as ‘Year’‚ ‘Month’‚ and ‘Day’ adjusters) to cycle through the available numbers. Adjust the year first‚ then confirm by pressing ‘Date Set’ again. This will move to the month setting‚ followed by the day.
Carefully verify each digit before confirming‚ as incorrect date settings can affect certain radio features. After setting the day‚ press ‘Date Set’ one final time to save your changes. A correctly configured date ensures accurate display and potential compatibility with future features or updates.
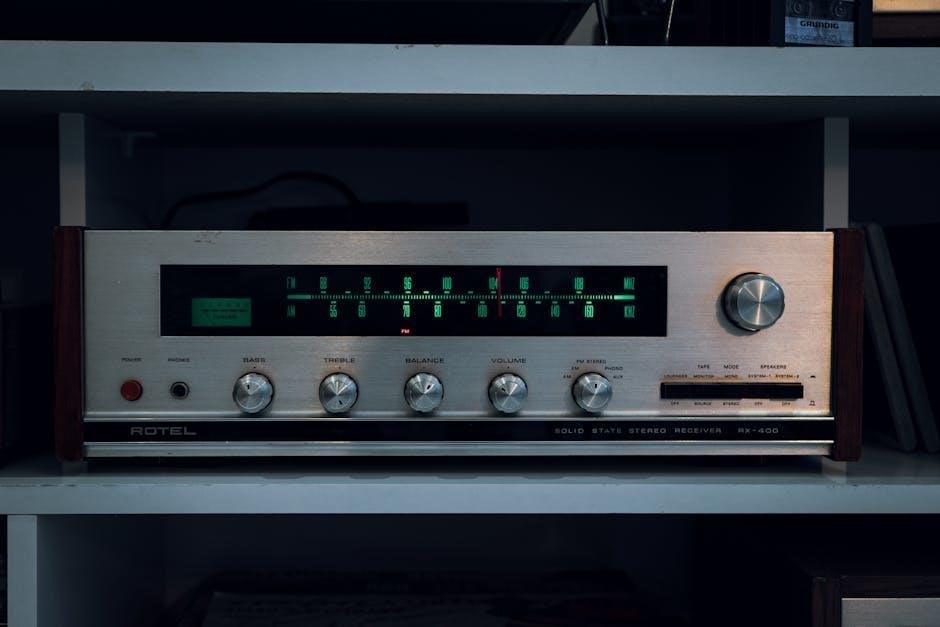
Radio Operation
The SGCCR2 allows tuning to both AM and FM stations‚ utilizing a band selector switch for easy navigation. Optimal reception is achieved by adjusting the antenna accordingly.
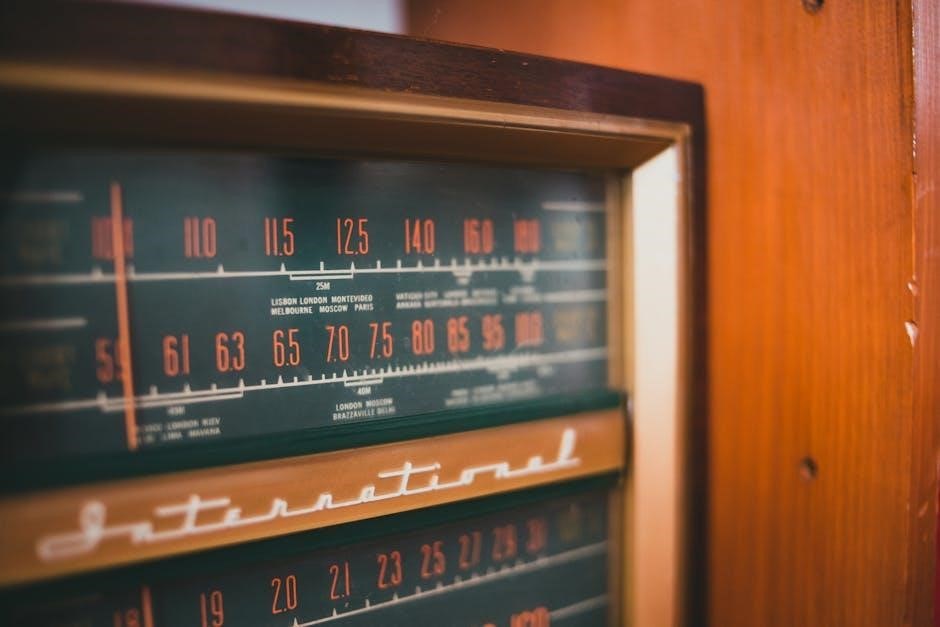
Tuning to AM Stations
To tune to AM stations on your Soundgear SGCCR2‚ begin by ensuring the radio is powered on and the function selector switch is positioned to the ‘AM’ band. Utilize the tuning knob‚ typically located on the front panel‚ to scan through the AM frequency range. Rotate the knob slowly and deliberately to locate desired stations.
Pay attention to the signal strength indicator‚ if equipped‚ to identify stations with a clear reception. If the signal is weak‚ try adjusting the position of the antenna. AM signals are more susceptible to interference‚ particularly from electrical sources‚ so relocating the radio slightly may improve reception. Fine-tune the station by making small adjustments to the tuning knob until the audio is clear and static is minimized. Remember that AM broadcasting can be affected by atmospheric conditions and time of day.
Tuning to FM Stations
For optimal FM station reception on your Soundgear SGCCR2‚ switch the function selector to the ‘FM’ band. Employ the tuning knob to scan the FM frequency range‚ rotating it gradually to find available stations. Unlike AM‚ FM signals generally offer higher fidelity and are less prone to static‚ but still benefit from a properly positioned antenna.
Observe the signal strength indicator‚ if present‚ to pinpoint stations with strong signals. Adjust the antenna’s direction for improved reception; extending it fully often yields the best results. Fine-tune the selected station using small adjustments to the tuning knob until the audio is crisp and clear. FM broadcasting is less affected by atmospheric conditions than AM‚ providing more consistent listening. Experiment with antenna placement to minimize interference and maximize signal quality for your favorite FM stations.
Using the Antenna for Optimal Reception
Maximizing signal strength with the Soundgear SGCCR2’s antenna is crucial for clear listening. Begin by fully extending the telescopic antenna‚ ensuring it’s not obstructed by nearby objects. For AM reception‚ orient the antenna horizontally and experiment with its position; AM signals travel further but are susceptible to interference.
FM signals‚ conversely‚ benefit from vertical antenna orientation. Rotate the antenna slowly while tuning to a station to identify the direction providing the strongest signal. Avoid placing the radio near large metal objects or electronic devices‚ as these can cause interference. If reception remains poor‚ try relocating the radio closer to a window. A well-positioned antenna dramatically improves both AM and FM reception‚ delivering a superior audio experience. Regularly check antenna connections for optimal performance.

Alarm Clock Functionality
Configure wake-up calls by setting the alarm time and selecting your preferred source—radio or buzzer—with on/off controls and a convenient snooze option.
Setting the Alarm Time
To establish your desired wake-up time‚ begin by pressing the “Alarm Set” button on the Soundgear SGCCR2. The display will begin to flash‚ indicating that the hour setting is now active. Utilize the “Hour” and “Minute” buttons to precisely adjust the hour to your preference. Remember to consider whether you’ve selected the 12-hour or 24-hour time format‚ as this will influence how the hours are displayed and adjusted.
Once the hour is correctly set‚ press the “Alarm Set” button again to move to the minute setting. The minute digits will now flash‚ allowing you to use the “Hour” and “Minute” buttons to set the desired minute for your alarm. Double-check both the hour and minute settings to ensure accuracy‚ as an incorrect alarm time can disrupt your schedule. After confirming the time‚ press “Alarm Set” one final time to save your settings. The alarm time will now be stored in the radio’s memory‚ ready to activate at your specified time.
Choosing Alarm Source (Radio/Buzzer)
The Soundgear SGCCR2 offers flexibility in how you are awakened‚ providing a choice between a radio alarm and a traditional buzzer sound. To select your preferred alarm source‚ locate the “Alarm Source” button on the radio’s control panel. Pressing this button will cycle through the available options – Radio (AM/FM) and Buzzer. The currently selected source will be indicated on the display‚ often with a corresponding icon.
If you choose the Radio option‚ the alarm will activate by tuning to your previously selected radio station. Ensure a station is preset and the antenna is properly positioned for optimal reception. Selecting the Buzzer option will initiate a gradually increasing beeping sound. Consider your personal preference and sleep habits when making your selection. A radio alarm can provide a gentler wake-up experience‚ while a buzzer offers a more direct and assertive signal.
Alarm On/Off and Snooze Function
Activating or deactivating the alarm on your Soundgear SGCCR2 is straightforward. Locate the dedicated “Alarm On/Off” button – typically marked with an alarm clock icon. Pressing this button toggles the alarm’s status; an illuminated icon confirms the alarm is active. Remember to verify the alarm time and source are correctly set before enabling.
The snooze function allows for a few extra minutes of rest. When the alarm sounds‚ press the “Snooze” button. The radio will temporarily silence the alarm and resume sounding after a pre-set interval‚ usually around nine minutes. Repeatedly pressing the snooze button will continue this cycle. To completely dismiss the alarm‚ press any button other than “Snooze.” Familiarize yourself with these controls to ensure a smooth and effective wake-up experience.

Advanced Features
Explore memory presets for favorite stations‚ alongside adjustable volume controls and display brightness settings‚ enhancing your personalized listening experience with the Soundgear SGCCR2.
Memory Presets for Favorite Stations
The Soundgear SGCCR2 allows you to store your most listened-to AM and FM radio stations as presets‚ providing instant access to your preferred content. This feature eliminates the need to manually tune to stations each time you want to listen. To save a station‚ first tune to the desired frequency using the tuning controls. Then‚ press and hold the ‘Memory’ or ‘Preset’ button – the specific label may vary slightly depending on the model – until a preset number is displayed.
Select an available preset number (typically 1-10) using the number buttons or the tuning dial. Confirm your selection by pressing the ‘Memory’ or ‘Preset’ button again. To recall a saved station‚ simply press the ‘Memory’ or ‘Preset’ button followed by the preset number. The radio will automatically tune to the stored frequency. This is particularly useful for quickly switching between news‚ music‚ or talk radio programs.
Volume Control and Adjustments
The Soundgear SGCCR2 features intuitive volume control for a personalized listening experience. Adjust the volume using the dedicated ‘Volume Up’ and ‘Volume Down’ buttons located on the radio’s front panel. Pressing ‘Volume Up’ increases the audio output‚ while ‘Volume Down’ decreases it. The current volume level is typically indicated on the display screen‚ often with a numerical value or a bar graph.
For precise adjustments‚ briefly press the buttons for incremental changes. Holding the buttons down will result in faster volume adjustments. Be mindful of the surrounding environment and adjust the volume to a comfortable level that doesn’t disturb others. Some models may also include a ‘Mute’ button for instantly silencing the audio output. Pressing ‘Mute’ again restores the previous volume level. Ensure optimal sound quality by balancing the volume with the antenna position for clear reception.
Display Brightness Adjustment
The Soundgear SGCCR2 clock radio incorporates a display brightness adjustment feature‚ allowing users to customize the screen’s illumination to suit their preferences and ambient lighting conditions. Typically‚ a dedicated ‘Brightness’ button or a menu option within the settings allows for adjustment. Pressing this button cycles through various brightness levels – High‚ Medium‚ Low‚ and Off.
Selecting ‘High’ provides maximum visibility‚ ideal for brightly lit rooms‚ while ‘Low’ minimizes light emission‚ conserving energy and reducing eye strain in dark environments. ‘Off’ completely disables the display. Some models may offer a wider range of brightness levels for finer control. Adjusting the brightness ensures comfortable viewing without causing distraction‚ particularly during nighttime use. Refer to the full manual for specific button locations and menu navigation instructions related to display settings.
Troubleshooting Common Issues
Addressing issues like no sound‚ tuning difficulties‚ or alarm malfunctions‚ this section provides solutions for common problems encountered with the Soundgear SGCCR2 radio.
No Sound Output
If you experience no sound from your Soundgear SGCCR2‚ begin by verifying the volume level‚ ensuring it isn’t muted or set too low. Check the power connection to confirm the radio is receiving adequate power. Next‚ examine the headphone jack; a plugged-in headphone can disable the speaker output.
Confirm the correct audio source is selected – either AM or FM – and that a station is properly tuned. If using the buzzer alarm‚ ensure it’s activated and the volume is appropriately adjusted.
Inspect the speaker connections (if applicable) for any loose wires or damage. In rare cases‚ a software glitch might occur; try resetting the radio by disconnecting the power source for several minutes‚ then reconnecting. If the problem persists‚ consult the full manual or contact customer support for further assistance‚ potentially referencing driver issues like ‘lvrs64.sys’ if applicable.
Difficulty Tuning to Stations
Experiencing trouble tuning into stations with your Soundgear SGCCR2? First‚ ensure the antenna is fully extended and properly positioned for optimal reception. Try adjusting the antenna’s direction and location‚ as interference can significantly impact signal strength.
For AM radio‚ interference from electrical devices or buildings is common; relocate the radio if possible. With FM‚ obstructions like tall structures can also cause issues. Utilize the radio’s tuning controls – both manual and auto-scan – to search for available stations.
If auto-scan fails‚ try manual tuning slowly. Consider potential signal fading or weak transmission areas. Check for any nearby devices causing electromagnetic interference. If issues persist‚ review the manual’s section on antenna usage and signal optimization‚ and potentially investigate driver conflicts like ‘lvrs64.sys’ or ‘Lvuvc64.sys’.
Alarm Not Functioning
If your Soundgear SGCCR2 alarm isn’t activating‚ begin by verifying it’s switched ‘On’. Double-check the set alarm time against the current time‚ ensuring accuracy in both hour and minute settings‚ and confirm the correct AM/PM designation. Confirm the chosen alarm source – radio or buzzer – is appropriately selected within the radio’s menu.
For radio alarms‚ ensure a station is properly tuned and the volume is audible. A weak signal might prevent the alarm from sounding. If using the buzzer‚ confirm the volume isn’t muted or set too low.
Investigate potential power interruptions or battery depletion‚ especially if relying on battery backup. Check for driver conflicts‚ similar to issues with ‘lvrs64.sys’‚ that could affect system timing. Refer to the manual’s alarm settings section for detailed troubleshooting steps and ensure core isolation isn’t interfering.
Safety Precautions and Maintenance
Always follow general safety guidelines‚ and regularly clean the device with a soft cloth. Dispose of batteries responsibly‚ avoiding fire hazards and environmental harm.
General Safety Guidelines
To ensure safe operation of your Soundgear SGCCR2‚ please adhere to the following guidelines. Avoid using the radio in excessively humid environments or near water sources to prevent electrical shock. Do not disassemble the device‚ as this could lead to damage and void the warranty. Always use the provided power adapter and ensure it meets the specified voltage requirements.
Keep the radio away from direct sunlight and extreme temperatures. Never insert foreign objects into the radio’s vents‚ as this could cause a short circuit. If you notice any unusual smells or smoke‚ immediately disconnect the power supply and contact customer support.
Regularly inspect the power cord for damage and replace it if necessary. This device is intended for indoor use only. Do not operate the radio while driving or in any situation where your attention could be diverted. Always handle batteries with care and follow proper disposal procedures.
Cleaning and Care Instructions
To maintain the appearance and functionality of your Soundgear SGCCR2‚ follow these simple cleaning instructions. Always disconnect the radio from the power source before cleaning. Use a soft‚ dry cloth to wipe the exterior surfaces‚ removing dust and fingerprints. Avoid using abrasive cleaners‚ solvents‚ or liquids‚ as these can damage the finish.
For stubborn stains‚ lightly dampen the cloth with water and gently wipe the affected area. Ensure the cloth is only slightly damp to prevent moisture from entering the device. Clean the display screen with a specialized screen cleaner and a soft microfiber cloth.
Regularly clean the antenna to ensure optimal reception. Store the radio in a cool‚ dry place when not in use. Avoid exposing the device to extreme temperatures or humidity. Proper care will extend the lifespan of your Soundgear SGCCR2 and keep it looking its best.
Battery Disposal Information
Proper battery disposal is crucial for environmental protection and safety. The Soundgear SGCCR2 utilizes batteries‚ which contain potentially harmful materials. Do not dispose of batteries with general household waste. Instead‚ follow local regulations for battery recycling and disposal.
Many communities offer battery recycling programs at designated collection points‚ such as electronics stores or recycling centers. Check with your local waste management authority for specific instructions.
When the batteries are depleted‚ remove them from the radio and store them in a safe place until they can be properly recycled. Avoid short-circuiting the batteries by covering the terminals with tape. Responsible battery disposal helps conserve resources and prevents environmental contamination; Always prioritize eco-friendly practices.